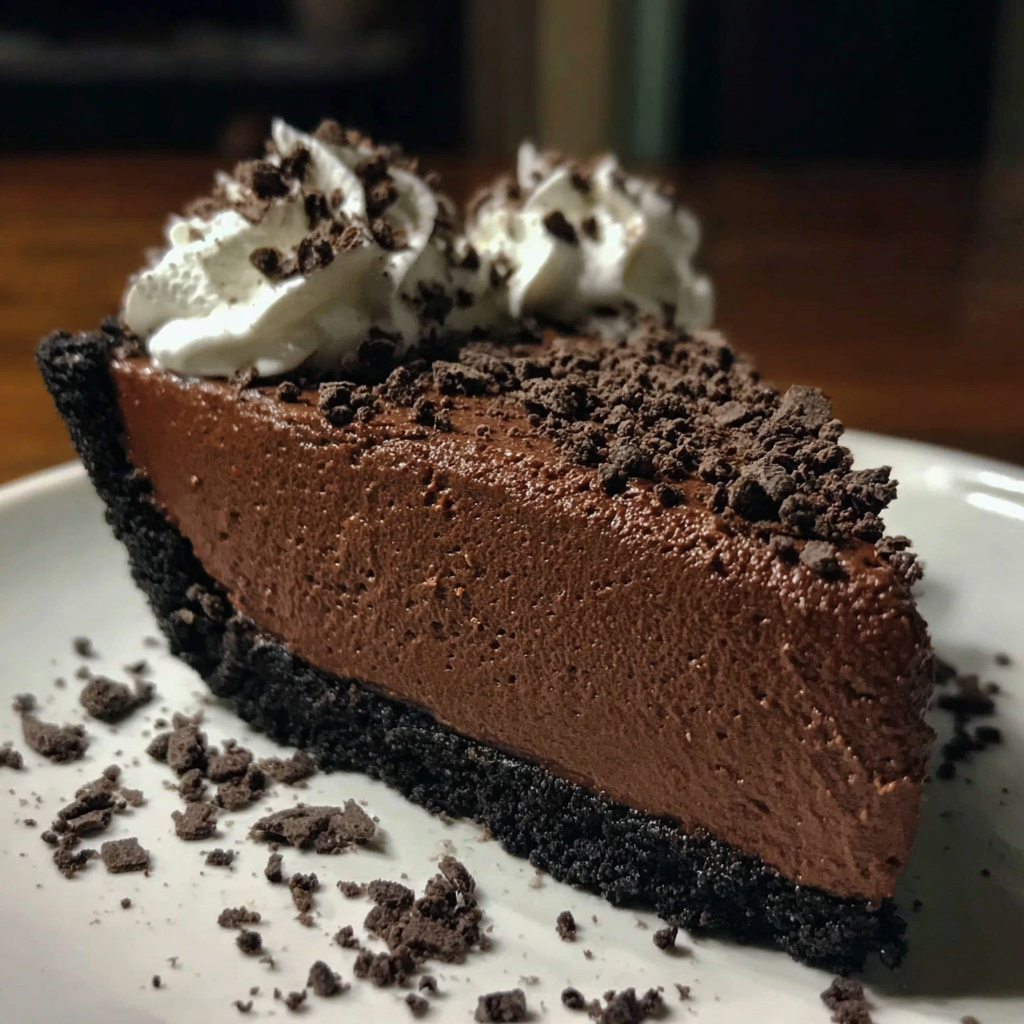
Indulge in a luscious dessert that brings together the rich flavors of chocolate and the crunch of Oreos without ever needing to turn on your oven. This no-bake chocolate mousse pie features a buttery Oreo crust paired with a light, fluffy chocolate mousse filling that melts in your mouth, making it an irresistible treat for any occasion.
Perfect for gatherings, holidays, or simply satisfying a sweet craving, this easy-to-make pie combines comfort and elegance with minimal effort. Let’s dive into this decadent creation that’s sure to become a household favorite.
- Rich and creamy chocolate mousse filling that is airy and indulgent.
- Buttery Oreo crust providing a perfect crunchy contrast.
- No baking required, saving time and heat in your kitchen.
- Simple ingredients easily found in most pantries.
- Great for parties, holidays, or anytime you want a chocolate fix.
Ingredients
- Oreo cookie crumbs: About 1½ cups crushed from 30 Oreos, creating a crunchy, chocolaty base for the crust.
- Unsalted butter: 6 tablespoons melted to bind the Oreo crumbs into a firm, flavorful crust.
- Cream cheese: 8 ounces softened to smooth out and enrich the mousse filling with tangy creaminess.
- Powdered sugar: 1 cup to sweeten and balance the chocolate flavors smoothly.
- Vanilla extract: 1 teaspoon to add depth and enhance the chocolate taste in the filling.
- Milk (¼ cup): Used in the cream cheese mixture to create a silky texture.
- Instant chocolate pudding mix: 3.9 ounces providing rich chocolate flavor and thickening the mousse.
- Cold milk (1½ cups): Whisked with pudding mix to help it set and remain smooth.
- Frozen whipped topping: 8 ounces thawed, folded in to lighten the filling into a fluffy mousse.
- Optional extra whipped topping: For garnish, adding an elegant finishing touch and extra creaminess.
- Chocolate shavings or curls: To decorate the top, enhancing presentation and chocolate indulgence.
Instructions
- Make the Oreo Crust
-
Combine Oreo cookie crumbs and melted butter in a bowl until well mixed. This helps the crumbs stick together into a solid crust. Press firmly into a 9-inch pie dish, shaping the edges slightly up the sides. Chill in the refrigerator for 15-20 minutes to let it firm up, ensuring a crisp base for the mousse.
- Prepare the Cream Cheese Layer
-
In a large bowl, beat softened cream cheese, powdered sugar, vanilla extract, and ¼ cup milk until smooth and creamy. This mixture creates a rich, velvety base that adds tang and sweetness, complementing the chocolate mousse perfectly.
- Make the Chocolate Pudding
-
Whisk instant chocolate pudding mix with 1½ cups cold milk for about 2 minutes, until the pudding thickens. This step is crucial to activate the setting agents in the pudding mix, resulting in a luscious, stable filling with deep chocolate flavor.
- Combine the Filling
-
Gently fold the thickened pudding into the cream cheese mixture until fully combined, creating a luxurious chocolate base. Then fold in the thawed whipped topping, which transforms the filling into a light, airy mousse texture.
- Assemble the Pie
-
Spread the chocolate mousse filling evenly over the chilled Oreo crust. Use a spatula to smooth the top for an appealing finish. The mousse’s lightness contrasts perfectly with the crisp crust, making every bite delightful.
- Chill
-
Refrigerate the assembled pie for at least 3-4 hours to allow the filling to set properly. This chilling time is essential to develop the mousse’s texture and ensure clean slices when serving.
- Garnish & Serve
-
Before serving, garnish the pie with extra whipped topping and sprinkle chocolate shavings or curls for an elegant presentation. Slice into 8 pieces and enjoy this creamy, indulgent dessert with family and friends.
- Freezing the crust for 10 minutes before filling helps achieve a firmer base and cleaner slices.
- Using dark chocolate pudding mix intensifies the chocolate flavor if preferred.
- Chilling overnight results in the best texture and most professional presentation.
- Ensure the whipped topping is fully thawed for smooth folding and fluffy mousse.
- Press the crust firmly and evenly for the best structural support of the filling.
Storage Tips
Keep the pie refrigerated in an airtight container for up to 3 days to maintain freshness. Avoid freezing as it may affect the texture of the mousse. Before serving, allow the pie to sit at room temperature for 10 minutes to soften slightly.
Serving Suggestions
Serve this chocolate mousse pie chilled alongside fresh berries or a drizzle of raspberry sauce for a fruity contrast. It pairs exceptionally well with a cup of coffee or a glass of cold milk for an indulgent dessert experience.
- For a noticeably firmer crust, toast the Oreo crumbs lightly before mixing with butter.
- Use a rubber spatula when folding to preserve the mousse’s airy texture.
- To make slicing easier, warm the knife under hot water and wipe it dry before each cut.
- For extra texture, consider folding in mini chocolate chips or finely chopped nuts.
- If desired, decorate with fresh mint leaves for a pop of color and freshness.
FAQs
- Can I make this pie vegan or dairy-free?
-
Yes! Use dairy-free cream cheese alternatives, non-dairy milk, and whipped topping substitutes to create a vegan version.
- How long does this pie stay fresh?
-
Stored in the fridge, it stays fresh for up to 3 days. Best enjoyed within this period for optimal texture and flavor.
- Can I prepare this pie in advance?
-
Absolutely! Prepare the pie a day ahead and refrigerate overnight to let the flavors meld and mousse set fully.
- What can I use instead of Oreo cookies for the crust?
-
Other chocolate sandwich cookies or graham cracker crumbs can be substituted, though Oreos provide the signature flavor.
- Is it possible to double the recipe?
-
Yes, just double all ingredients accordingly. Use a larger pie dish or multiple smaller dishes for even chilling.
- Can I add alcohol to this pie?
-
For an adult twist, add a tablespoon of coffee liqueur or bourbon to the filling before folding in the whipped topping.
- How do I prevent the crust from becoming soggy?
-
Firmly pressing and chilling the crust before filling, and not overfilling, helps keep the crust crisp and stable.
No-Bake Chocolate Mousse Pie
Equipment
- 1 9-inch pie dish for the crust and assembly
- 2 mixing bowls
- 1 spatula for spreading the filling
- 1 refrigerator for chilling and setting the pie
Ingredients
- 1½ cups Oreo cookie crumbs about 30 cookies
- 6 tablespoons unsalted butter melted
- 1 package 8 ounces cream cheese, softened
- 1 cup powdered sugar
- 1 teaspoon vanilla extract
- ¼ cup milk
- 1 package 3.9 ounces instant chocolate pudding mix
- 1½ cups cold milk
- 1 container 8 ounces frozen whipped topping, thawed
- Extra whipped topping optional, for garnish
- Chocolate shavings or curls optional, for garnish
Instructions
- Combine Oreo cookie crumbs with melted butter until evenly mixed.
- Press the crumb mixture firmly into the bottom and slightly up the sides of a 9-inch pie dish.
- Refrigerate the crust for 15 to 20 minutes to set.
- In a large bowl, beat cream cheese, powdered sugar, vanilla extract, and ¼ cup milk until smooth and creamy.
- In a separate bowl, whisk instant chocolate pudding mix with 1½ cups cold milk until thickened, about 2 minutes.
- Fold the prepared pudding into the cream cheese mixture gently until fully combined.
- Fold in the thawed whipped topping until the filling is light and mousse-like.
- Spread the chocolate mousse filling evenly over the chilled Oreo crust and smooth the top.
- Refrigerate the pie for at least 3 to 4 hours to set completely.
- Before serving, garnish with extra whipped topping and chocolate shavings or curls if desired.
Notes
- Freeze crust for 10 minutes before filling for extra firmness.
- Use dark chocolate pudding mix for a richer chocolate taste.
- Chilling overnight yields cleaner pie slices.
- Store leftovers chilled and consume within 3 days.